How To Use Split-Test Feature on Weebuilder
This guide will show you how to use the split-test feature inside Weebuilder plug-in so that you will understand how it works and how easy it is to set up a split test without having to code.
This process will help you check on the status of your split test setup
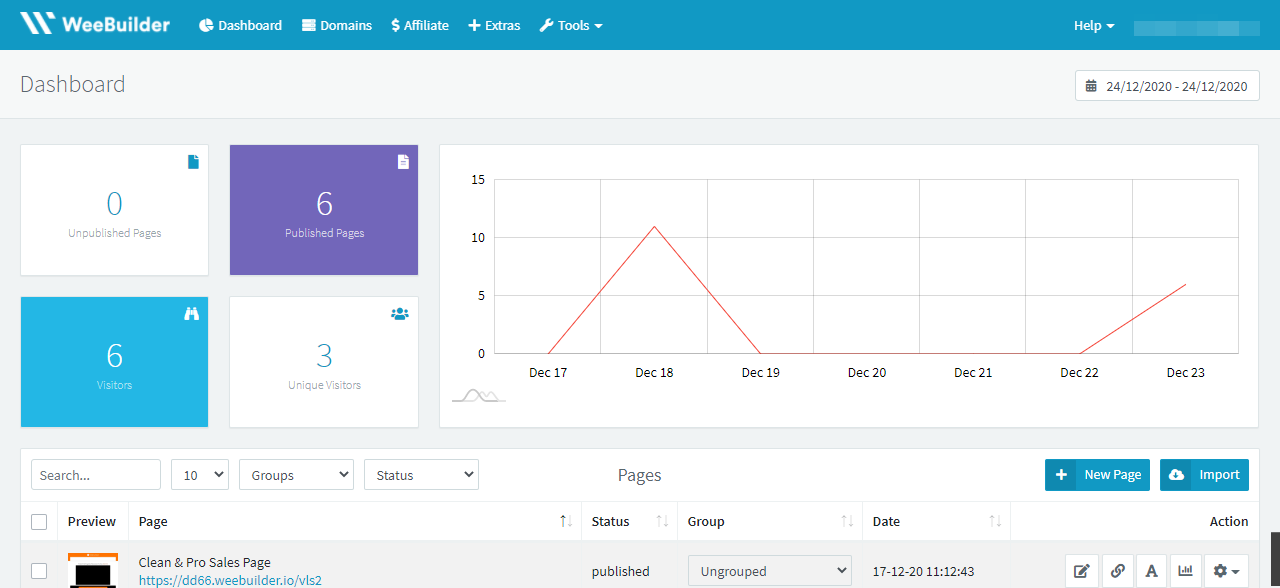
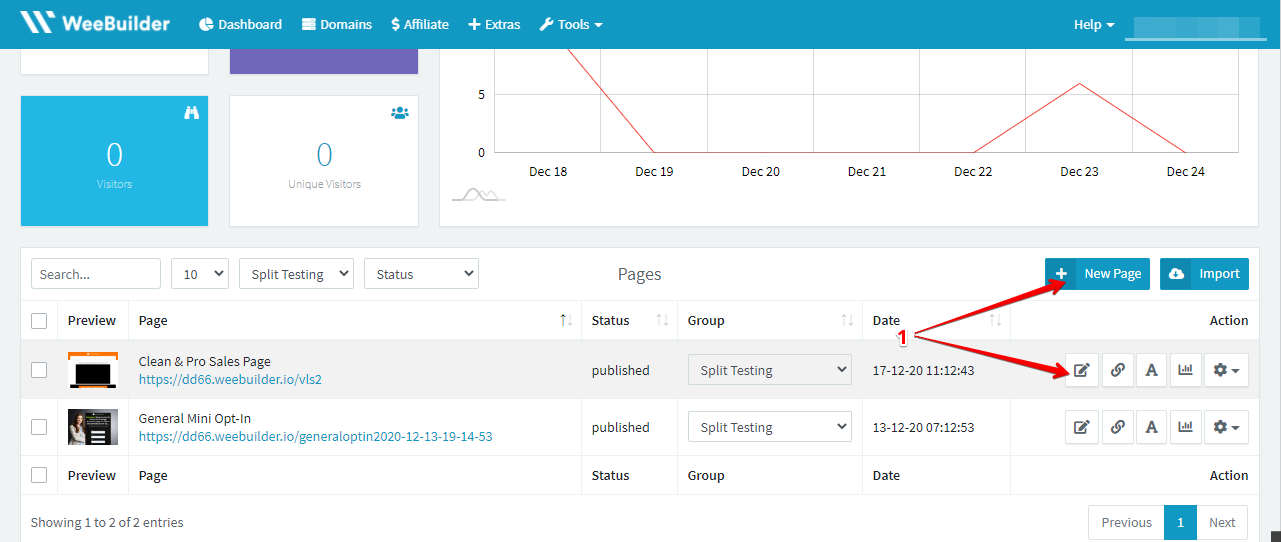
- Go to the Weebuilder Dashboard
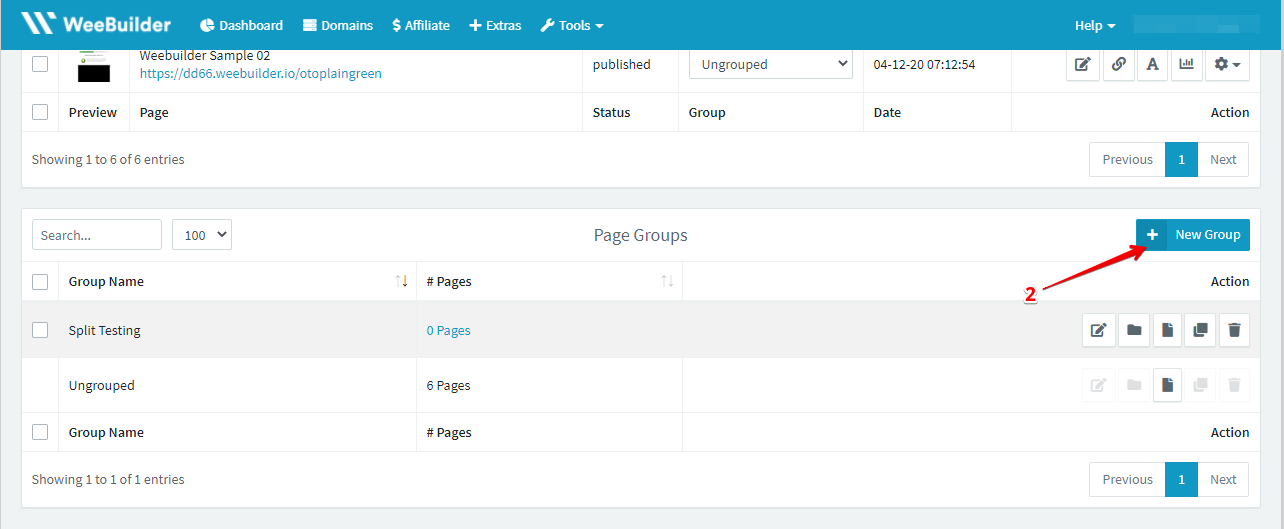
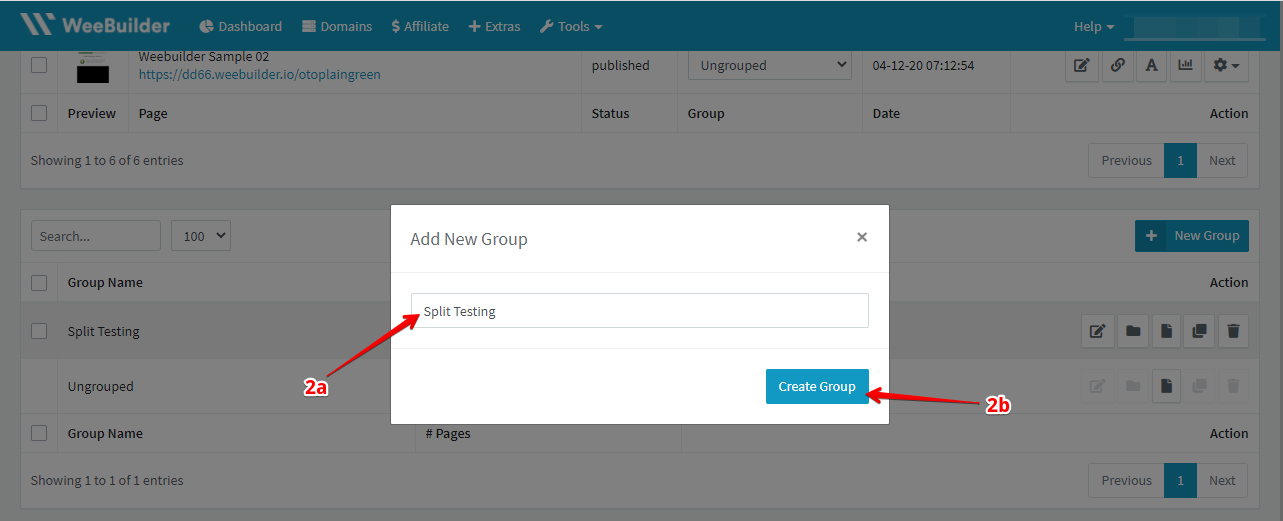
- Go to the Group you have created for ‘Split Testing’. To create a group scroll below the dashboard and click ‘New Group’ then type in ‘Split Testing’ then click ‘Create Group’ after doing so you can find the group you created in the Dashboard.
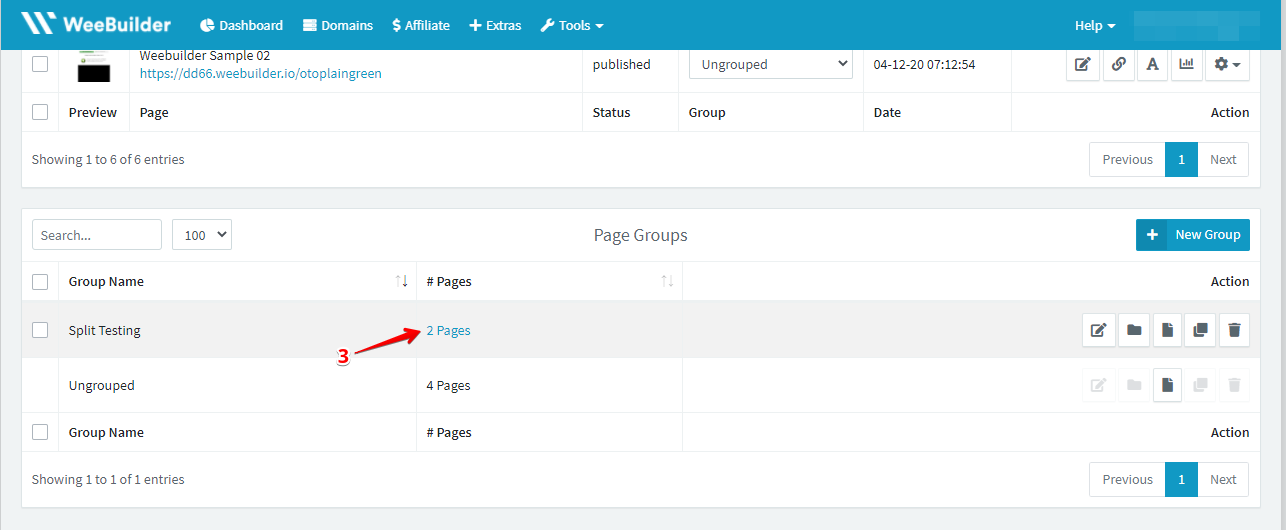
- Select the pages you have set up for split testing (follow the steps below to set up pages for split testing)
- You can then check the status of your split test pages by clicking the status icon. From there you will be able to see the status of your split-test.

- You can click on the ‘View details’ to check the other details of the page.

Now for you to be able to create or set up pages you want to split test, you will have to do the following:
- Go to edit page or create a new page
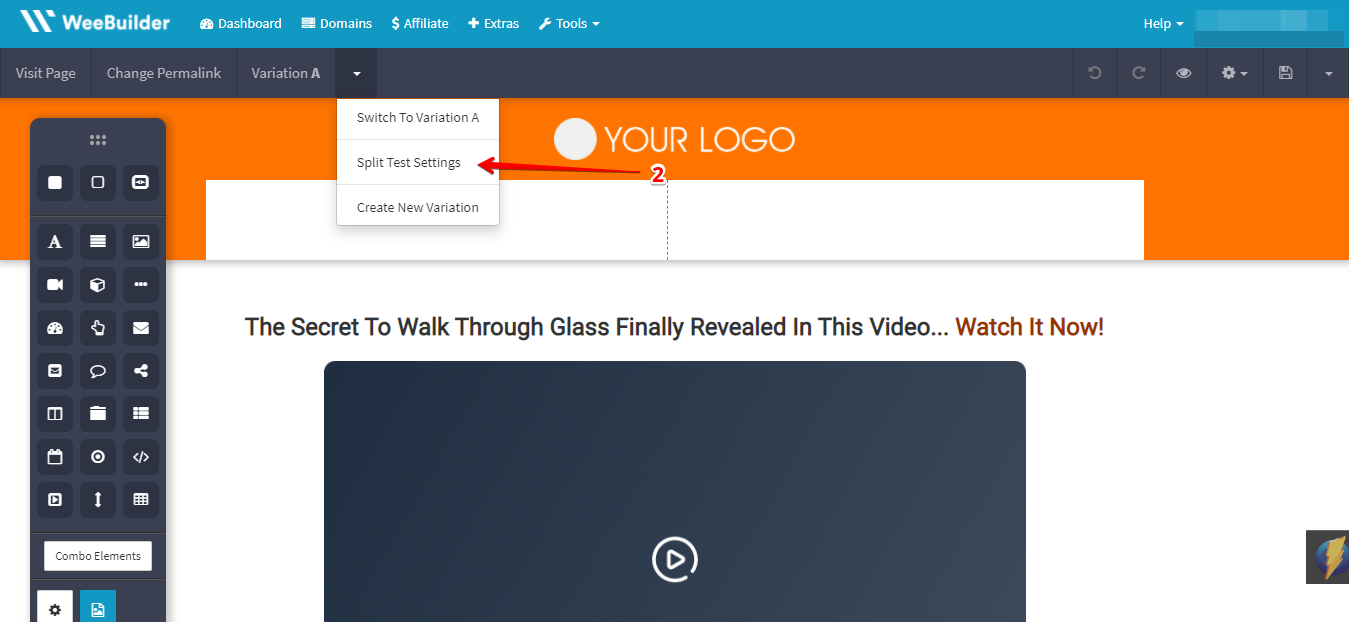
- Once you are in the visual editor pane you can then click on the drop down menu on the upper left of the page, choose ‘Split Test Settings’
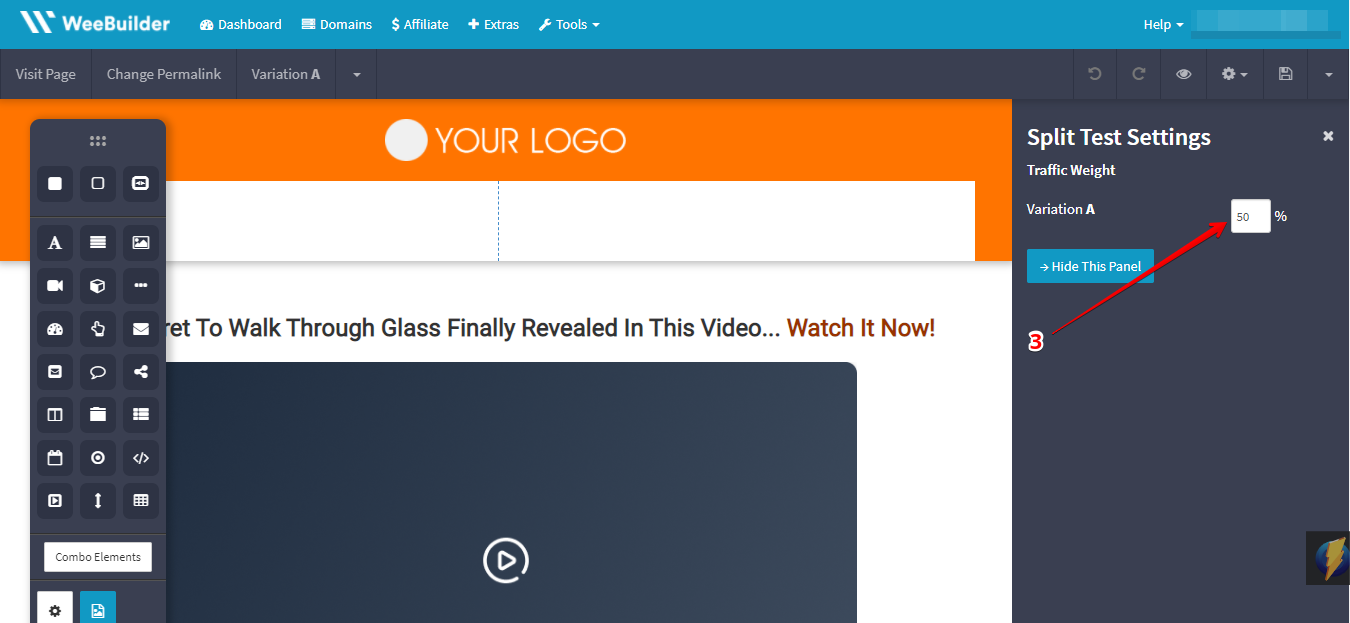
- You can now choose the percentage of your split test variation on the menu box on the right
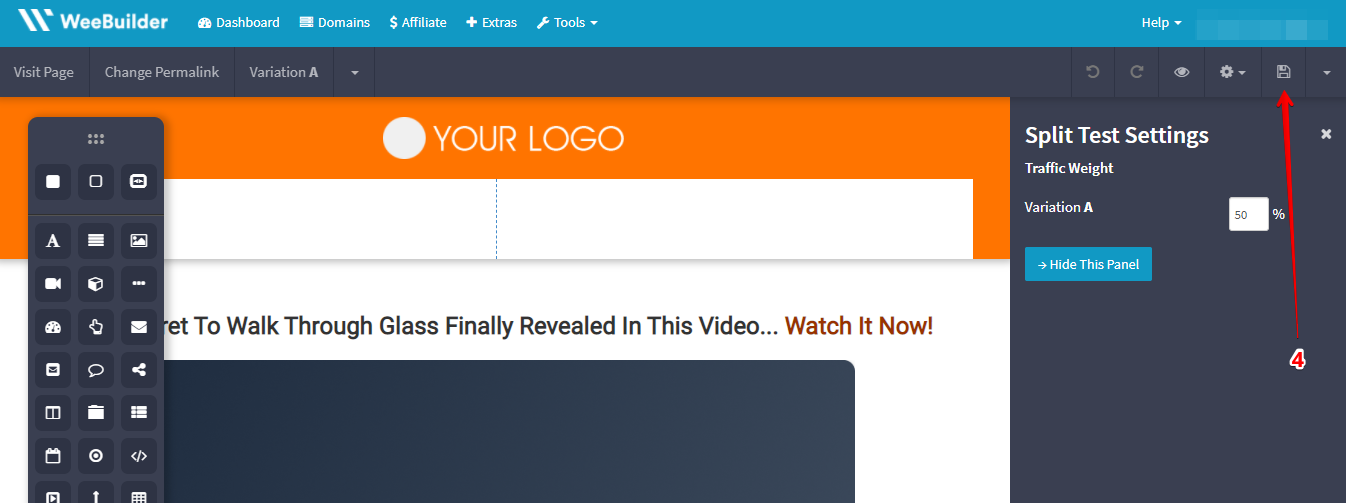
- Save your work by clicking the disk icon on the upper right.
- To check, you can repeat the process above in checking the status or if you have saved the setup correctly.
That is just how easy it is to set up Split testing with Weebuilder.